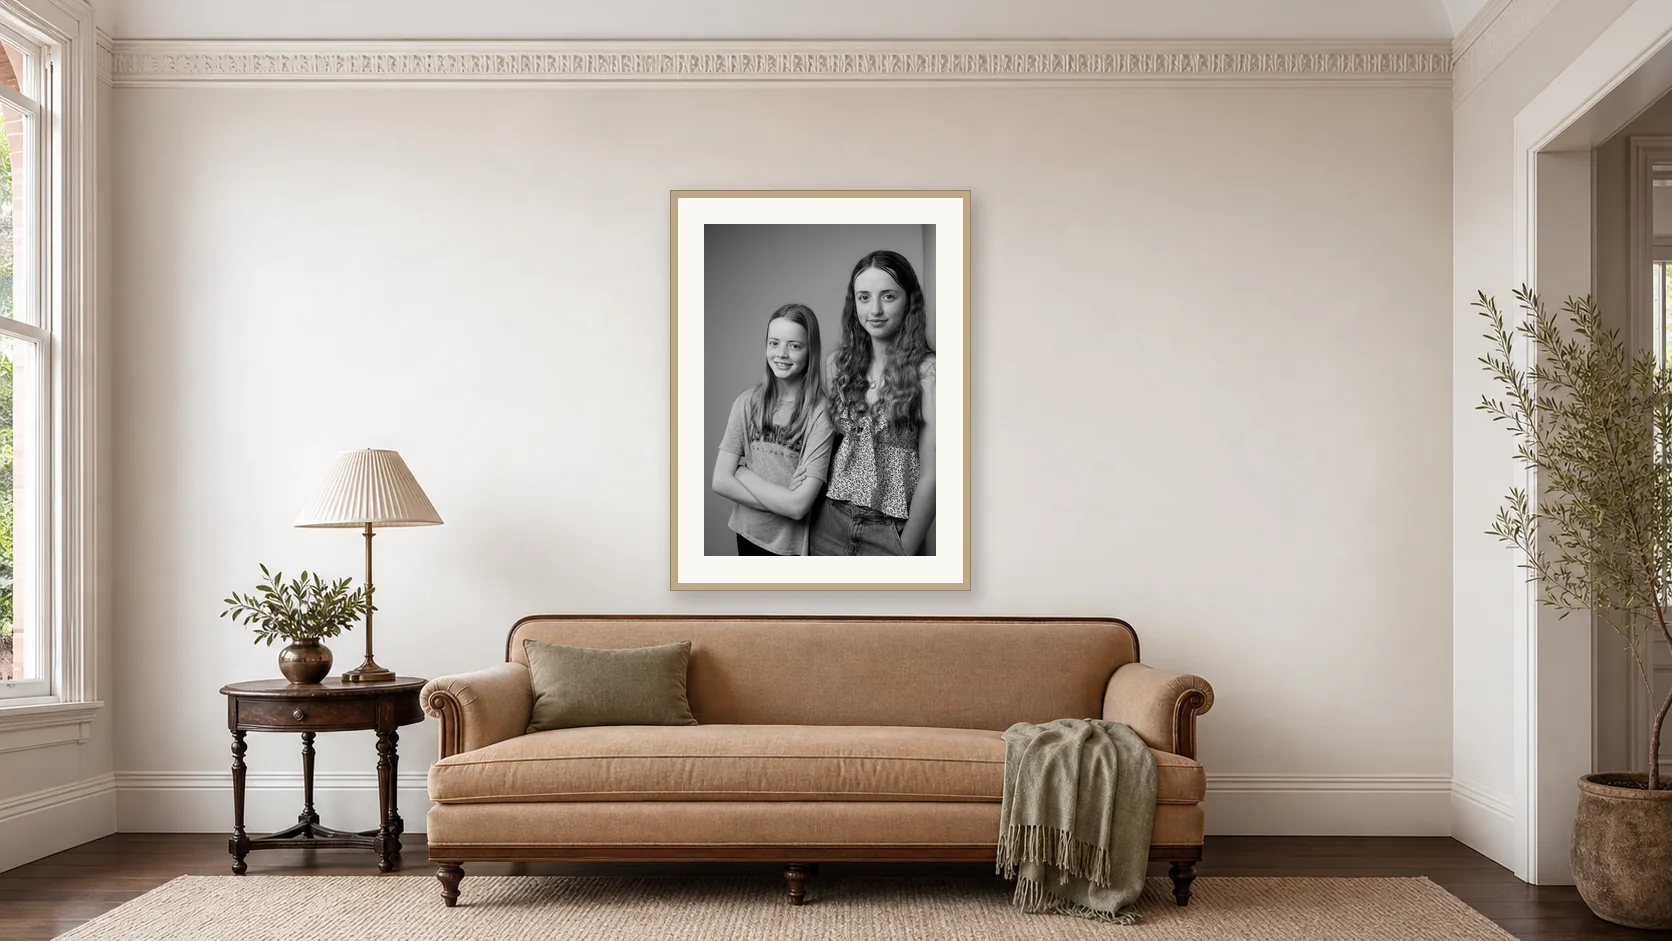
Short answer: Wall art should be about two-thirds the width of the furniture beneath it. Over a 2.1m sofa that means roughly 140cm wide. For a portrait on a bare wall, aim to fill 60 to 75 per cent of the usable wall width. Almost everybody buys one size too small.
We can predict the mistake before a client makes it. They stand in the studio, look at a 60cm print, and say that feels about right for above the couch. It is not about right. It is roughly half of what that wall needs, and when it goes up it will look like a misplaced sticker.
This is not a sales instinct. It is a room-measuring problem, and the good news is that it is arithmetic rather than taste.
Why the print always shrinks when it gets home
Two things are working against your eye.
The first is the studio. Our viewing wall is a large, plain, evenly lit surface with nothing else on it. Anything hung there looks bigger than it will at home, where it competes with a bookshelf, a lamp, a window and a television.
The second is that you are judging a physical object from a number. “90 by 60 centimetres” means almost nothing to most people. Hold your arms out to that width and it suddenly looks modest. Do that before you choose — arms out, in the actual room, standing where you normally sit.
The two-thirds rule, which actually works
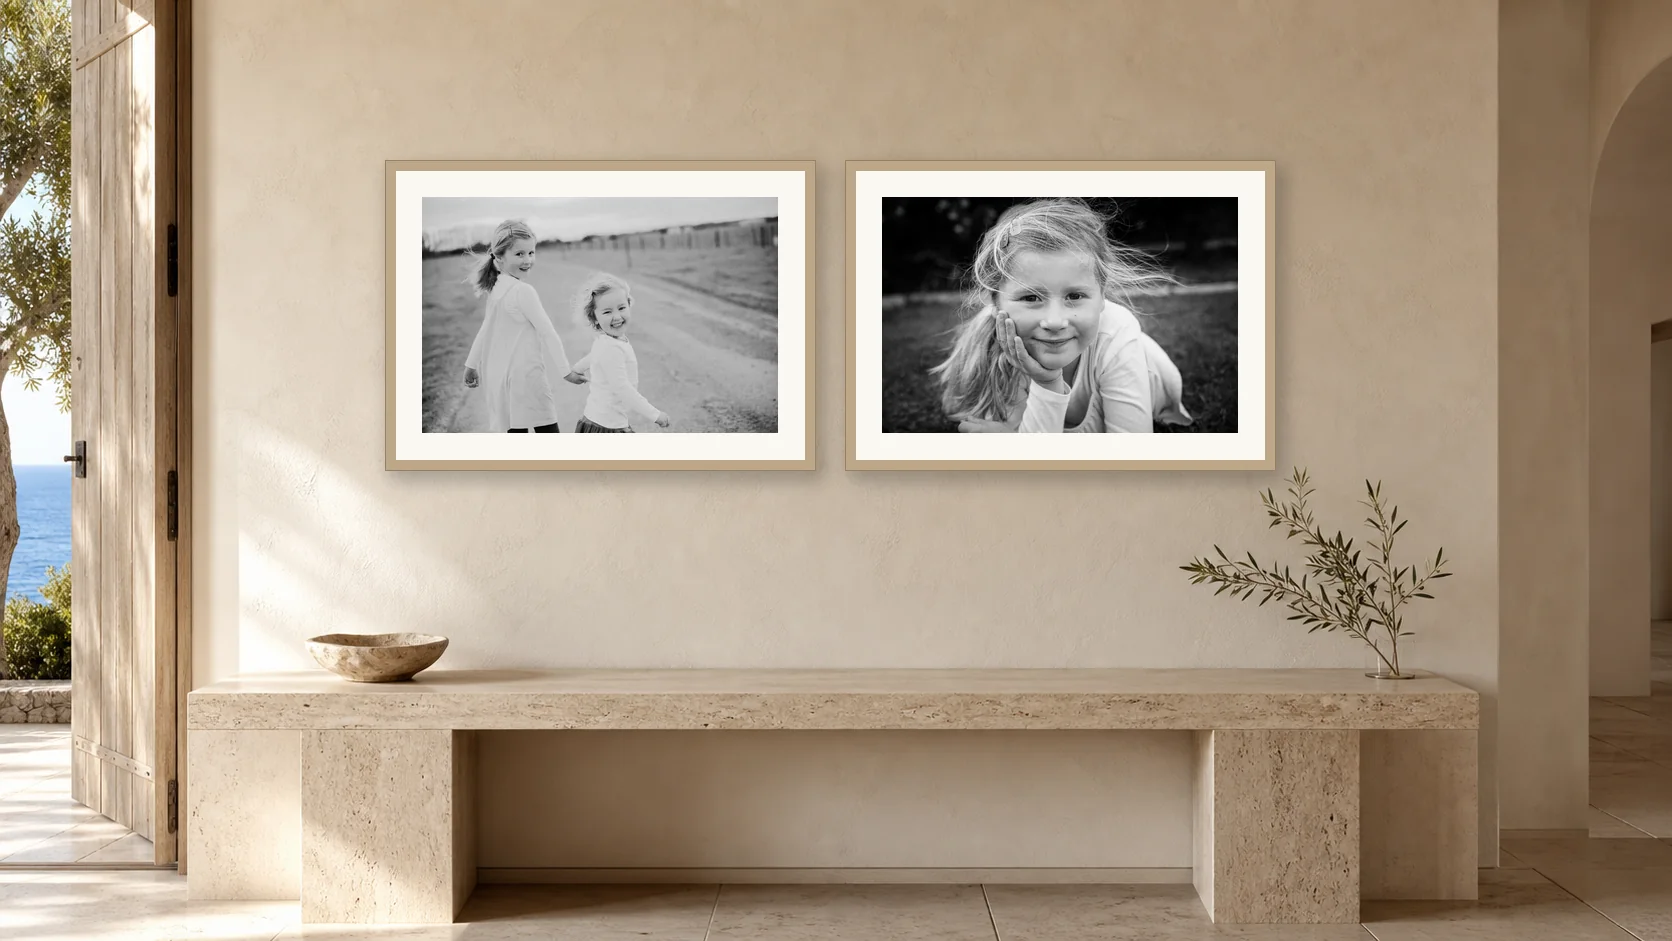
The one guide worth remembering: a piece hung above furniture should be roughly two-thirds the width of that furniture. Somewhere between 60 and 75 per cent is comfortable. Below about half, it starts to float and look accidental.
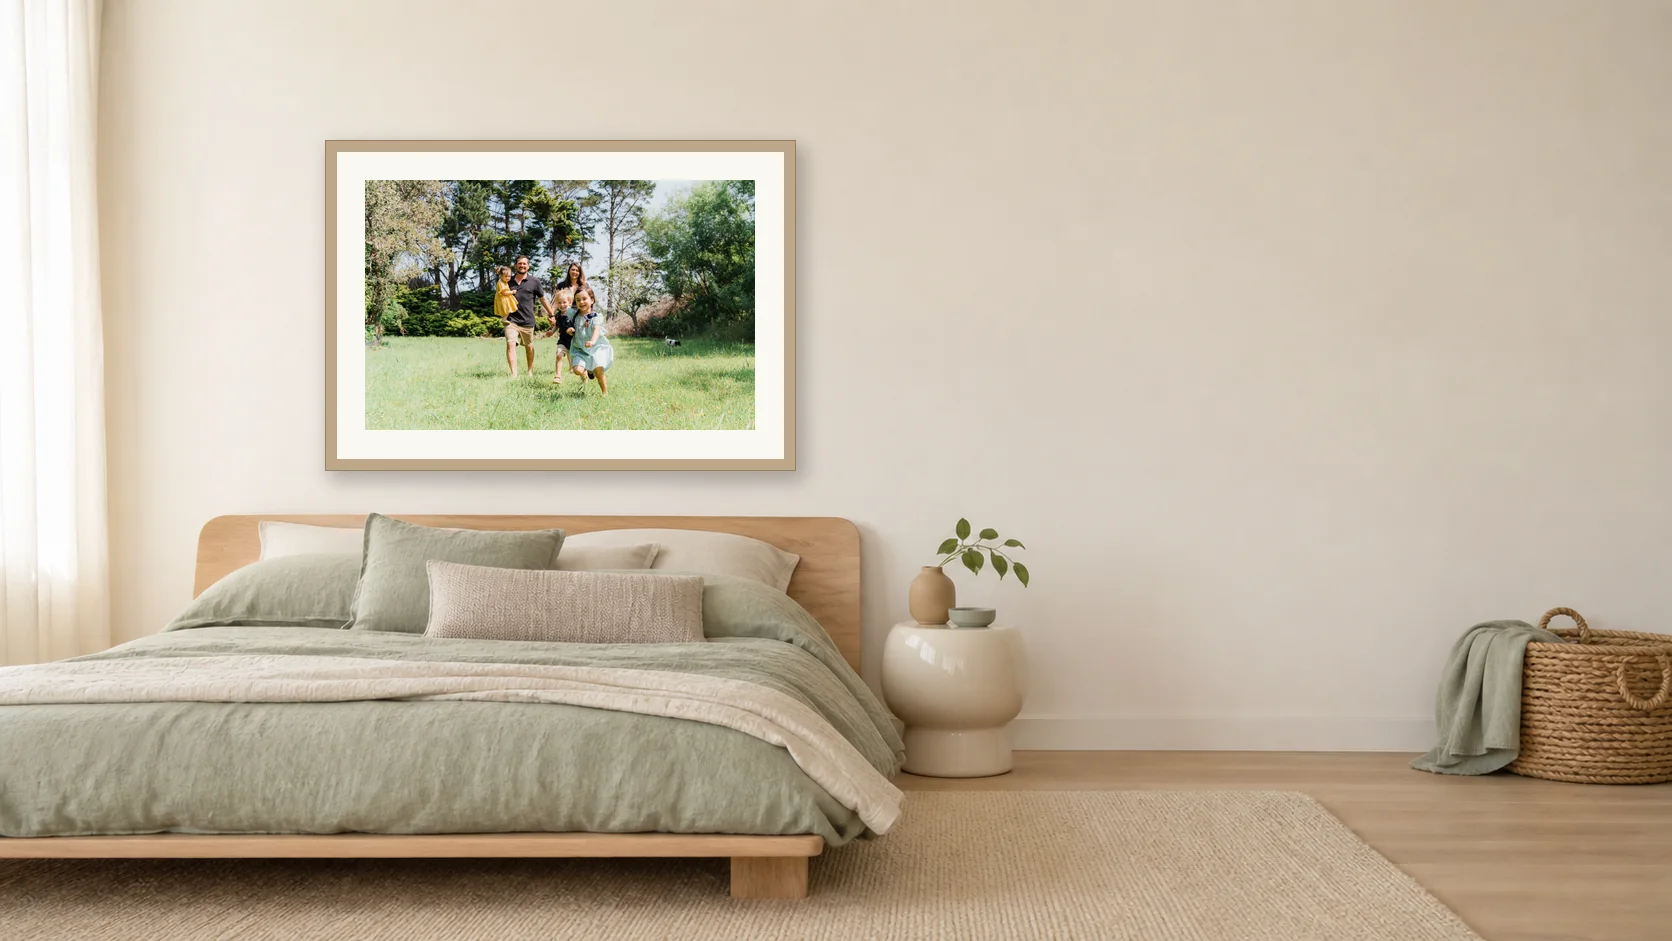
Measure the sofa, the bedhead, the sideboard — whatever it sits above — and multiply by 0.67. That is your target width, before framing. If you are hanging a group of three, apply the rule to the whole arrangement including the gaps, not to each frame.
On a bare wall with no furniture under it — a stairwell landing, an entry — use the wall itself, but only the usable part between mouldings, switches and corners. Target 60 to 75 per cent of that.
A size table you can actually use
Print sizes below are the image, not the outer frame. A frame with a mat adds 10 to 20cm in each direction, which is often exactly the extra presence a wall needs.
| What it hangs above | Typical width | Print width to aim for | Common size |
|---|---|---|---|
| Bedside table or hall console | 60–90cm | 40–60cm | 40×50 or 50×70 |
| Two-seater sofa | 150cm | 90–110cm | 75×100 or 90×60 |
| Three-seater sofa | 210cm | 130–155cm | 100×150 or a 3-piece set |
| Queen bedhead | 155cm | 95–115cm | 80×120 |
| King bedhead | 185cm | 115–140cm | 100×150 |
| Dining sideboard | 180cm | 110–135cm | 90×135 |
| Wide empty feature wall | 300cm+ | 180cm+ | 120×180 or larger |
Two things about that table. Orientation matters as much as size: a wide horizontal print above a sofa, a taller vertical one in a narrow hallway or beside a doorway. And an oversized piece on a small wall is a real look — a single enormous portrait filling almost an entire wall is deliberate and reads as confident. It is undersizing that always reads as a mistake.
Viewing distance changes everything
How far away you stand decides how big the piece needs to be, and it is the reason a print that works in a living room fails in a corridor.
A rough working guide: the comfortable viewing distance is about one and a half to two times the diagonal of the picture. Turn that around and you get the useful version — measure how far back you typically stand, and size up from there.
| Where you view it from | Typical distance | Sensible print width |
|---|---|---|
| Hallway, walking past | 0.8–1m | 40–60cm |
| Bedroom, from the doorway | 2–3m | 80–120cm |
| Living room, from the opposite seat | 3–4.5m | 120–180cm |
| Open-plan, seen across the kitchen | 5m+ | 150cm+ |
The open-plan number surprises people. Plenty of newer houses around Epping and the Hills have one long living space where the main portrait is seen from five or six metres away most of the time. At that distance, a 90cm print simply disappears into the wall.
Measure it with paper before you spend anything
Cut newspaper or butcher’s paper to the exact size you are considering and blu-tack it to the wall. Leave it there for two days. Walk past it, sit down opposite it, see it from the kitchen.
Almost everyone who does this comes back and says they want to go bigger. That is not us talking them up — it is the paper doing the arguing. It costs nothing, takes ten minutes, and it is the single most useful thing in this article.
How many pieces, and the case for one big one
A single large portrait is generally stronger than three medium ones. One picture makes a decision; a cluster hedges. Clusters work when the photos tell a sequence — three children, or the same child at three ages — and they fail when they are just three good frames from one session hung together because nobody could choose.
If you do want a set, keep the gaps tight. Five to eight centimetres between frames is right; fifteen centimetres and they stop reading as one piece. The material you choose changes the impact too, which is a separate decision we cover in our comparison of framed prints, canvas and albums.
Does the shape of your photo fit the size you have chosen?
This is the step almost nobody checks, and it catches people out after the order is placed. A camera makes a frame with one proportion. A print size has its own proportion. When the two do not match, something gets trimmed.
Most professional cameras record a frame that is a little wider than it is tall, close to the shape of a 4×6 snapshot. Ask for a squarer print, such as 40×50, and the sides of the picture are shaved to suit. Ask for a long, slim panel and the top and bottom go instead. Neither is a problem if the photograph has breathing room around the people. It is a real problem on a family portrait where grandma sits at the far edge with her elbow half an inch from the border.
So before you approve a size, ask to see the chosen image cropped to the exact shape of that print. Look at three places: the outer shoulders of the people at each edge, the tops of the heads, and the hands at the bottom. If a hand or an ear is touching the border, you have two honest choices. Pick a size closer to the original proportion, or ask for a mat (the card border inside a frame), which lets the image keep its natural shape while the frame still comes out the size you wanted.
A measuring walk-through you can do in one Saturday morning
You need a tape measure, a pencil, a phone and a cup of tea. Allow 20 minutes. Do it in the order below, because each step feeds the next.
- Stand where you really look at the wall from. Not the middle of the room. The spot where you sit with your coffee, or the doorway you come through. Take a photo from that spot with the whole wall in frame.
- Measure the furniture, then the free wall. Write down the width of the sofa or bedhead, then the clear wall from the nearest switch, window or corner on each side.
- Check the vertical space too. A wide landscape print needs height above the furniture. In older homes with picture rails or lower ceilings, that gap can be smaller than the width suggests, and a taller print will not fit at all.
- Note what else lives on that wall. A television, a light switch, a thermostat, a door that swings open. We have seen a beautiful print ordered for a wall where the door handle would have hit the frame every morning.
- Write one target width and one fallback. Having a fallback means the choice is quick when we sit down together.
Picture a typical case. A family in a Ryde apartment has one long open-plan room, a three-seater sofa under a window-free wall, and a two-year-old who likes to climb. They measure the sofa, work out a wide target, and then notice the wall has a power point at sofa-back height on the right. That single detail pushes them to a slightly narrower print hung a little left of centre over the sofa’s middle seat, or to a taller piece on the clear stretch of wall beside it. They find that out with a tape measure, not after delivery.
What if the wall is small, awkward or shared?
Use the guide below. It is common sense, not a formula, so treat it as a starting point.
- If the wall is short but wide, choose a horizontal print and let it run close to the edges. A tall print would only emphasise the lack of height.
- If the wall is tall and narrow, a vertical print or a vertical pair works. A wide one will look like it has been squashed in.
- If a window or door takes most of the wall, use the neighbouring wall, or a single narrow piece on the sliver that is left.
- If you rent and cannot drill much, go for one larger piece on one good fixing rather than a cluster that needs eight holes.
Here is a checklist to bring with you.
- A phone photo of the wall, taken from where you usually look at it
- Width of the furniture below, and of the clear wall on each side
- Height from the top of the furniture to the ceiling or picture rail
- Anything that blocks the wall: switch, door swing, vent, skirting
- One target width and one fallback width, in centimetres
- The people who stand nearest the edges in the photo you like best
Of everything on that list, the last one gets forgotten most. Before you sign off on any size, look at the person standing at the outer edge of your favourite image and make sure their shoulder, and any hand resting on someone else’s arm, still sits comfortably inside the border after the crop.
Common questions
What is the most common size mistake?
Buying a 40x50cm frame for a main living room wall. It is the size most people default to because it is what shops stock and it is what fits in the car. In a room you view from three metres, it has no presence at all. On a bedside wall at one metre, the same print is perfect.
Does a bigger print need a higher resolution file?
Less than you would think. A properly exposed file from a professional camera will make a sharp 150cm print without any trickery, because you view large prints from further back. Sharpness is rarely the limit — the limit is usually how the photo was lit, and a soft or noisy file will look worse at every size.
Should the frame colour match the furniture?
Match it to the room’s woodwork and skirting rather than the couch, because furniture gets replaced and skirting does not. Black works in almost every Sydney home. Raw oak suits lighter, newer interiors. White frames need a genuinely white wall or they look grey and tired.
Can I hang a big portrait in a rental?
Yes, though above about 8kg the adhesive strips stop being trustworthy and you want a proper hook. Most landlords will accept two small holes filled on exit. If not, lean a large framed piece on a sideboard or a low shelf — it is a legitimate look and it moves house with you easily.
How high above the sofa should it sit?
Leave 15 to 25cm between the top of the sofa back and the bottom of the frame. Any more and the picture detaches from the furniture and drifts up the wall. Where to put it in the house at all is a bigger question, and we have gone through it room by room in our guide to where to hang family portraits.
Bring the measurements, not the guesswork
The order matters: measure the wall and the furniture first, work out the target width, then choose the photograph. Doing it the other way round is how people end up with a beautiful image at a size that can never look right in the room it was bought for.
If you are booking a session with us, take three photos of the wall on your phone and bring the width in centimetres. We will size the piece to the room while we are choosing the images, rather than guessing and hoping. It takes about five extra minutes and it is the difference between a print you like and one you notice every day.
Wall art, finished by hand
Solid timber frames, cotton mat board and portraits sized for the wall they will hang on.