Short answer: Hang family portraits with the centre of the image 145 to 150cm from the floor, which is average eye height. Living rooms, hallways and stairwell walls work best. In a hallway you stand less than a metre away, so go smaller and hang the frames closer together.
Most homes get the height wrong in the same direction. The picture goes up too high, usually because someone hung it relative to the ceiling or the top of a door frame instead of relative to a person standing in front of it.
Start at 145cm and adjust from there
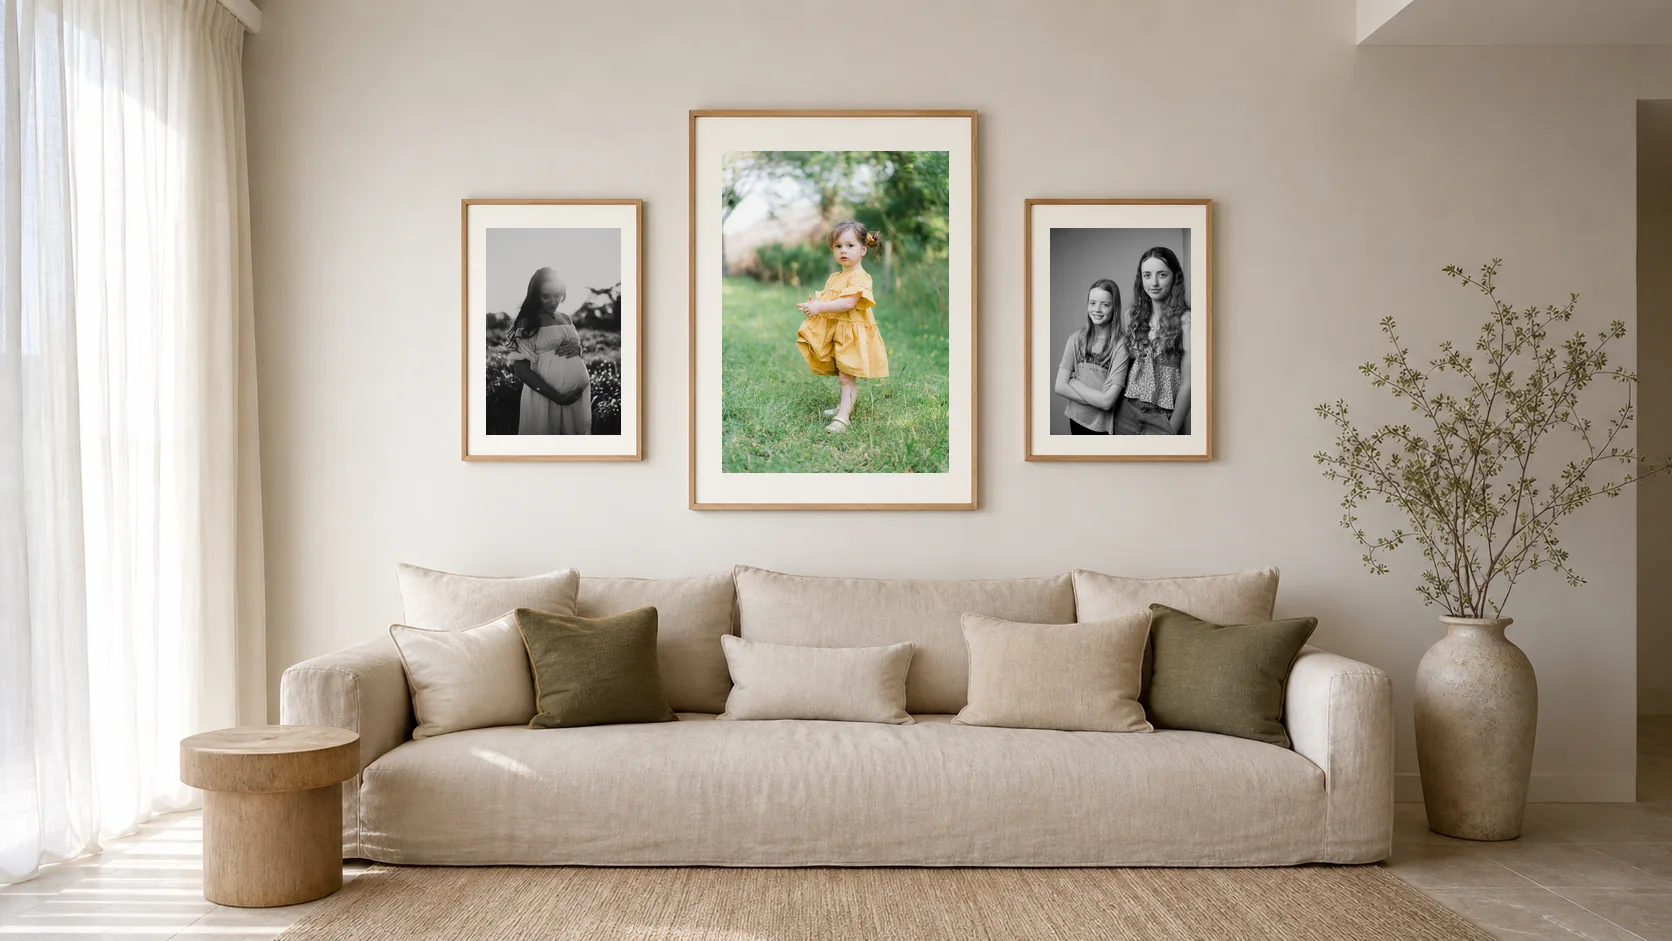
Galleries hang at roughly 145 to 150cm to the centre of the work. It is not an arbitrary number — it is close to the average adult eye level, and it is why a gallery wall feels comfortable to walk along.
Measure to the centre of the image, not the top of the frame and not the hook. To find where the hook goes: height of the frame divided by two, minus the distance from the top of the frame down to the taut hanging wire, added to 145.
Two adjustments are worth making. In a room where everyone is seated — a formal lounge, a dining room — drop to about 140cm, because eye level from a sofa is lower. And if the room is full of tall people, go up a few centimetres. Your house, your eyes.
Above furniture, the furniture wins. Keep the gap to about a hand’s span, even if that puts the centre slightly off 145. A picture floating half a metre over a couch has visibly come loose from it.
The hallway rule
Hallways are the most misused wall in the house, and they are also the best one, because everybody walks down them several times a day.
The thing that changes is viewing distance. In a typical Sydney hallway you are 80cm to a metre from the wall — you cannot step back. That has two consequences.
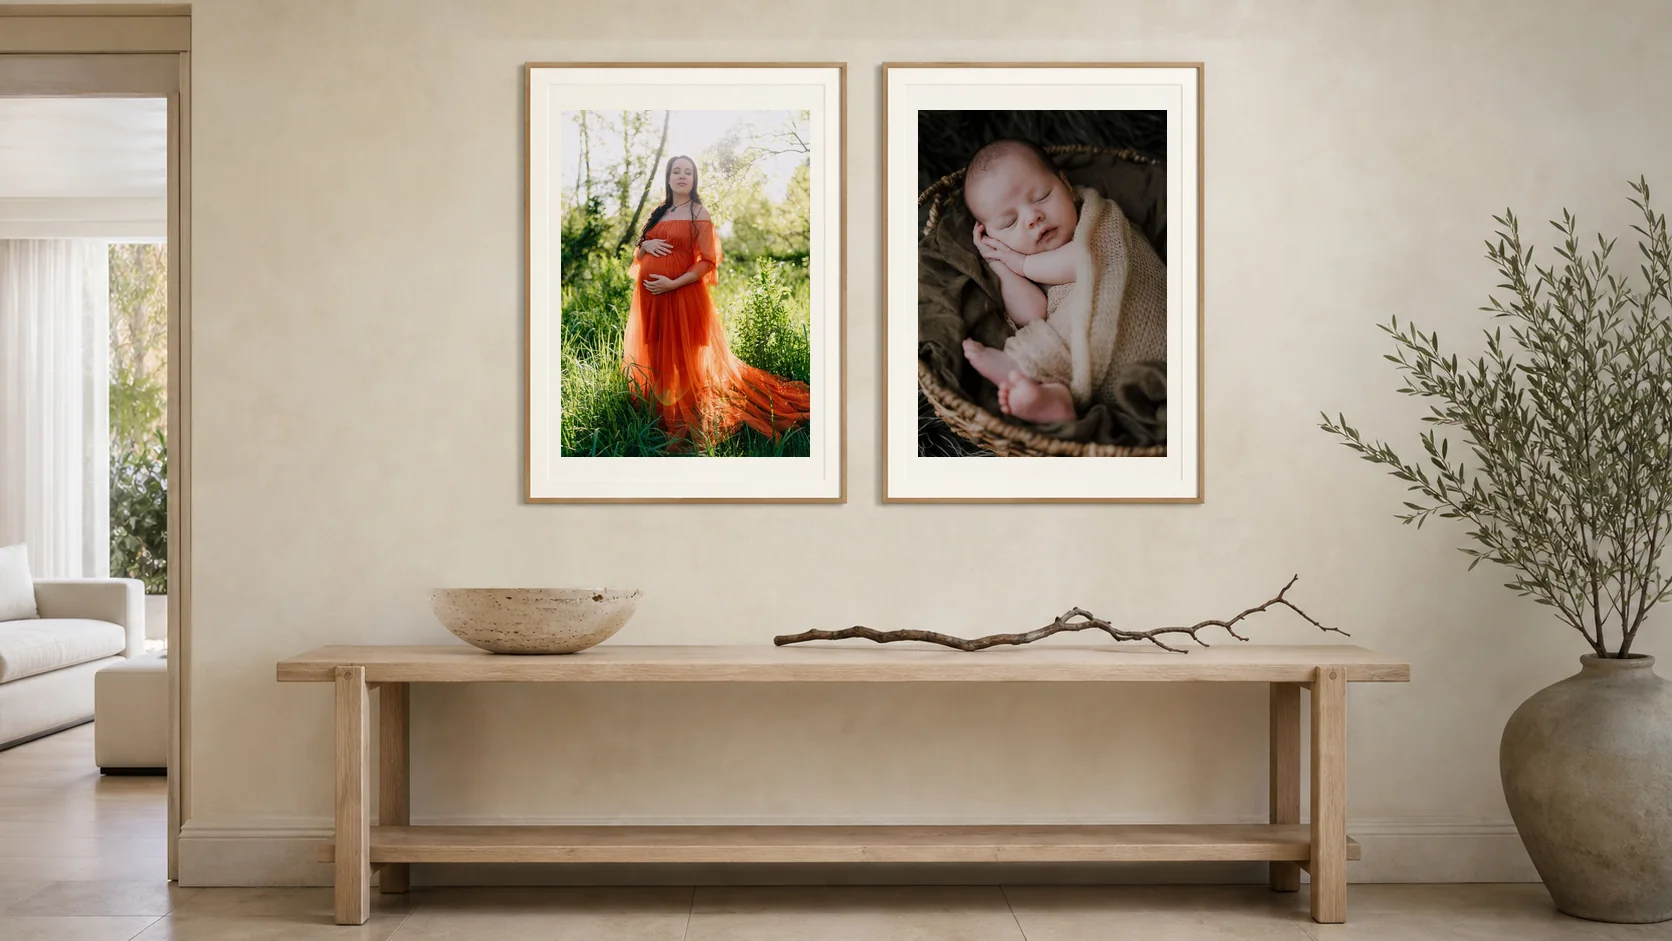
First, go smaller. Prints of 40 to 60cm wide are right here; a 120cm piece cannot be taken in at all and just becomes a wall of texture as you pass. Second, hang them closer together. Five to eight centimetres between frames, so the run reads as one continuous thing rather than as separate pictures spaced out to fill the corridor.
A row of six to eight matching frames along a hallway, all at the same centre height, is one of the best uses of a family portrait collection we know. Matching frames are doing a lot of work in that sentence — mixed frames in a tight row look like clutter.
Stairwells, where the rule bends
Stairs are the one place 145cm does not apply, because there is no single floor level.
The method that works: follow the angle of the staircase. Imagine a line running parallel to the handrail, and hang so the centres of the frames sit on that line. Measure 145cm up from the front edge of each individual tread, and the diagonal takes care of itself.
Pick one alignment and hold it — either all centres on the diagonal, or all frames with their bottom edges on a diagonal. Mixing the two produces a staircase that looks faintly seasick.
Landings are separate. A landing is a wall you stand square to, sometimes from several metres back, so it can take a single large piece and often deserves one.
Room by room
| Room | Works? | What to know |
|---|---|---|
| Living room | Best | Viewed from 3–4.5m, so it takes the largest piece in the house. Hang it on the wall you face from the sofa, not the wall behind it. |
| Hallway | Best | Small prints, tight spacing, matched frames, one consistent height. |
| Stairwell | Very good | Follow the rail angle. Watch for direct sun through a skylight. |
| Entry | Good | The first thing anyone sees. One strong piece, not a collection. |
| Main bedroom | Good | Portraits of the couple, or the children. Above the bedhead, 15–25cm clear. |
| Kids’ rooms | Good | Hang lower — 120cm centre — because they are shorter. They notice. |
| Dining room | Depends | Fine if people sit and face it. Drop to about 140cm for seated eye level. |
| Kitchen | Avoid | Grease and steam get into everything, including behind glass. |
| Bathroom / laundry | Avoid | Humidity cycles will cockle paper and lift mounts within a couple of years. |
| Garage | Avoid | Temperature swings in a Sydney summer are brutal on framed work. |
Above the bedhead, specifically
This is the most requested spot and it has its own rules.
Width first: the piece should be narrower than the bedhead, ideally around two-thirds of it, so the bed still frames the picture rather than the other way round. Centre it on the bed, not on the wall — those are rarely the same point once bedside tables are in. Keep the same hand’s-span gap above the pillows.
Then the safety part, which nobody enjoys discussing. A heavy framed piece above a pillow needs to be fixed into a stud or a proper toggle, not a picture hook in plasterboard. This is the one spot where we suggest canvas or an acrylic-faced print over glass, purely because of what is underneath it.
Light, and the wall to avoid
One placement rule overrides everything above: do not hang a portrait where direct sun lands on it. In most Sydney homes that means the wall taking hard afternoon light from a western window, and it is worth checking the room at 4pm in January rather than at 10am when you happen to be measuring.
Reflections are the second light problem. A framed piece directly opposite a window becomes a mirror for part of the day. Move it to a wall at right angles to the window, or use non-reflective glazing. How much the sun actually costs you over time depends on the inks and glass, which we cover in our guide to archival printing and fading.
What is behind your wall decides how you hang it
Height and placement get all the attention. The fixing gets almost none, and it is the part that decides whether your portrait is still on the wall next year. Before you buy a hook, find out what the wall is made of.
Tap along it with a knuckle. A hollow, drum-like sound usually means plasterboard over a timber or metal frame. A dull, solid sound usually means brick, concrete or masonry, which is common in apartments across Epping and Ryde. Each wants a different kind of fixing, and a hook that suits one will fail in the other.
- Plasterboard: light pieces can use a picture hook rated for the weight. For anything heavy, find a stud or use a toggle or anchor designed for hollow walls. Check the weight rating on the packet against the weight of your framed piece.
- Brick or concrete: you need a drill and the correct masonry bit and plug. If you do not own a drill, this is the point where borrowing or hiring someone is cheaper than a cracked wall.
- Rental or strata: check your lease or the building’s rules before you drill anything. Some buildings have specific requirements about what can be fixed to shared walls. We cannot advise on your rules, so ask your agent or building manager.
Look for cables and pipes before you drill. A simple stud and cable detector from a hardware store is an inexpensive way to avoid a nasty surprise. If you are not sure, hire a handyperson for the job.
A hanging-day sequence that avoids holes in the wrong place
Do the steps in this order. The point is to make every mistake on paper rather than on plaster.
- Decide the height first. Use the centre height we described earlier, and mark it lightly in pencil.
- Find the hook position. Lay the frame face down and measure from the top edge to the hanging wire when it is pulled tight. Subtract that from the centre line and mark the hook height.
- Use a level, not your eyes. Walls and floors in older homes are rarely straight. A spirit level or a phone level app will show whether the picture is straight even when the room is not.
- Mark twice, drill once. Check the measurements against the pencil line again before touching the wall.
- Add small rubber bumpers on the bottom corners. They keep the frame from tilting and protect the paint.
- Step back to the doorway. Judge it from where you will actually see it, then adjust.
For a heavier piece, use two fixings rather than one, spaced apart, so the frame cannot swing. It also makes it much easier to keep the picture straight.
Where would we put it if this were your house?
We cannot see your home, but we can give you a starting point for common situations. Treat these as suggestions, not rules.
- If you have toddlers who run and climb, choose a wall that is out of reach of toys and flying objects, or hang higher than usual in the play area and keep the main portrait in a calmer room.
- If you are gifting a portrait to grandparents, ask where they spend most of their day. A dining table wall they face at every meal beats a spare room they rarely enter.
- If you live in an open-plan apartment, pick the wall you face from the sofa and give it one significant piece. A scattering of small frames tends to get lost in a large space.
- If you have a long entry hall, a run of similar frames at the same height works well, because you see them at close range as you walk.
- If you are about to move, wait until you are in the new place and know where the furniture will land. Hanging before the sofa arrives is how pictures end up in the wrong spot.
- If the wall gets bright light, choose the next best wall, or ask about glazing that cuts glare and light damage.
Use this checklist on the day you hang.
- Check what the wall is made of, and look for cables and pipes
- Confirm the weight of the framed piece and the rating of the fixing
- Mark the centre height and the hook position in pencil
- Have a spirit level and a second person to check from across the room
- Use two fixings for anything wide or heavy
- Stick bumpers on the bottom corners of the frame
- Take a photo from the doorway and see how it reads
- Keep the packaging and spare screws in case you move
Last, a small domestic point. Before anyone picks up the drill, ask everyone in the house to stand where the picture will go and tell you whether the pencil mark feels right. Agreeing on the height before the first hole goes in is far easier than agreeing on it afterwards, with a spare hole showing beside the frame.
Common questions
Should family photos go in the living room where guests see them?
That is a preference, not a rule, and plenty of people find a wall of their own faces in the main entertaining room a bit much. Hallways, stairwells and bedrooms are more private and get far more daily viewings anyway. The living room is the right choice when you want one significant piece rather than a family display.
How do I hang a group of frames without making a mess of the wall?
Lay the arrangement out on the floor first and move it around until it works. Then cut paper templates the size of each frame, mark the hook position on each one, and tape them to the wall. Adjust the paper, not the plaster. Drill only when the paper looks right.
What height for a very high ceiling?
Still 145cm. The instinct in a room with 3.5m ceilings is to lift everything to balance the wall, and it is wrong — you end up with pictures nobody can look at comfortably. If the wall above looks empty, the answer is a bigger picture, not a higher one.
Can I hang a portrait opposite a mirror?
You can, and it is often a good trick, because the mirror gives the portrait a second life from other parts of the room. Just check what the mirror is reflecting into the glass. Two reflective surfaces facing each other in a bright room can leave both looking washed out.
How many portraits is too many in one house?
There is no number, but there is a test: if you have stopped noticing them, there are too many or they have been up too long. Rotating two or three pieces every couple of years keeps them visible. Which format survives that handling is a separate question — framed prints, canvas and albums behave quite differently.
Walk the house before you order anything
Do this in one pass, tonight. Walk from the front door to the main bedroom the way you actually move through the house each morning. Note the three walls your eye lands on. Those are your spots, and they are usually not the ones you would have guessed from a plan.
Then measure each one and mark 145cm with a pencil. When you come in to choose images with us, bring those three measurements. Sizing the photograph to a wall you have already stood in front of is a completely different conversation to choosing a pretty picture and finding it a home afterwards.
Wall art, finished by hand
Solid timber frames, cotton mat board and portraits sized for the wall they will hang on.